
 Are you interested to sew your hat?? Don’t worry, this is simple. Here are some of the simple ways are given to sew a hat. You have to concentrate only three main parts of the hat. They are:
- Crown
- Sideband
- Brim
Crown
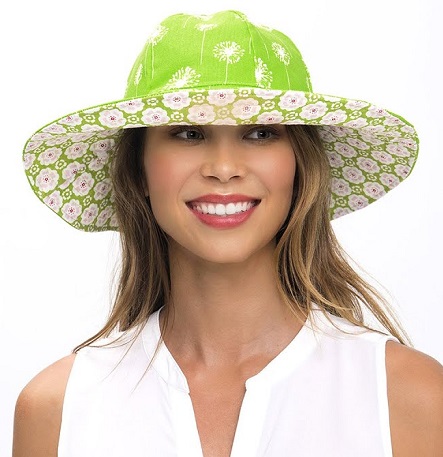
First, you have to choose the size of the hat. The crown size ranges from 24 ½ inches down to 19 ½ inches which suit for all age groups, and depends on haircuts you have. The short haircuts for women are the best option for wearing a hat. Go to therighthairstyles website, to find an appropriate options. If you want a flat brim hat, you can fix the same size as the head circumference.
If you want a rain bucket hat, you can fix slightly smaller than the head circumference. In case you want a chief model hat, you have to take larger than the head circumference. Once you have cut the crown template, you can easily be sewing a hat.
Brim
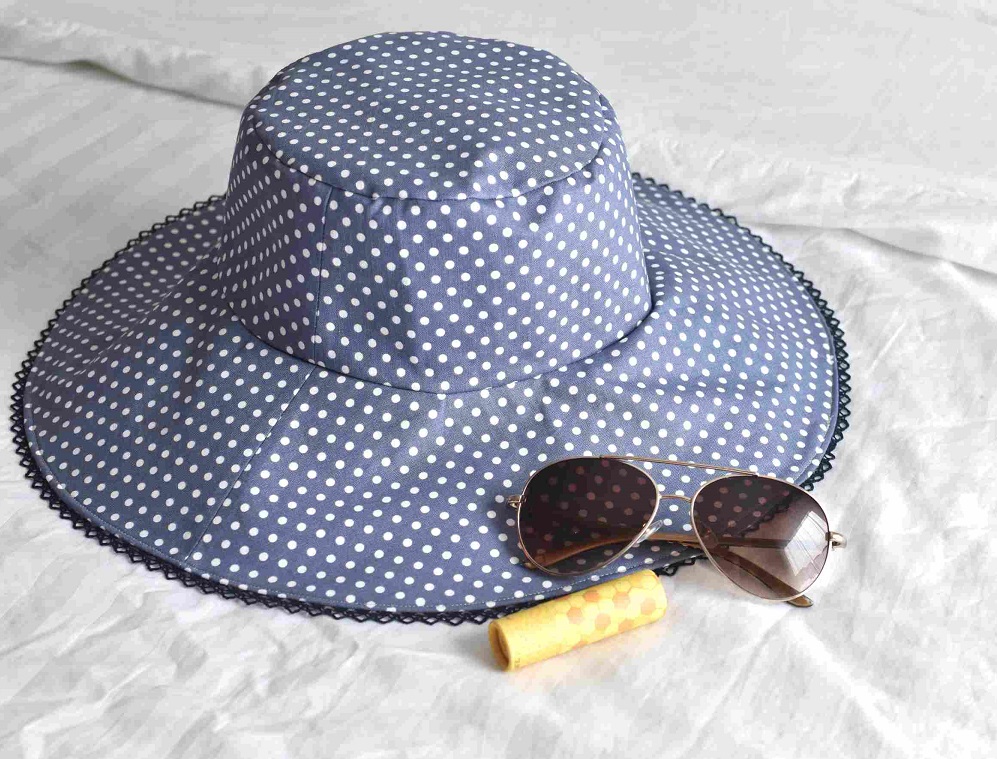
 After the draw the hat patterns sewing, you have to decide what kind of brim you need. You can choose either flat brim or a shaped brim.
While sewing the brim, you have to add a seam allowance to the inside of the brim.
If you want a shaped brim, you can take pie-shaped wedges out of the brim and then you can close the cap. Once you make the brim draft, you have to cut the following things:
- One sideband of each fabric – main, interfacing and lining
- Two brims of main fabric and minimum of two interfacing
- One crown of each fabric – main, interfacing and lining
You have to use heavy-duty sew interfacing to get a perfect shape to the hat. You have to use a minimum of 4 pieces on both sides and sew the outside edges to make a hat. Then trim the balance extra clothes outside the brim.
In order to stronger the hat, you have to make stitches for ½ inches. Then sew a sideband together at the side seam. Then pin the brim to the crown or sideband assembly. Then stitch together. After this stage, you have to add the lining to the hat and wrong side together.
Before finish the inside you have to add ribbon. Sew the ribbon into a loop, and then pin it over the raw edges of the lining and hat so you can easily get the ribbon against the brim. Then stitch and flip the ribbon to the inside of the hat.
Finally, you have made topstitches around the bottom edges of the sideband to hold the ribbon in the right place. Now you can get the perfect hat.